Spend a lot of time on www.avsforum.com. It is an absolute wealth of knowledge on finishing theaters, equipment, etc. I spent months reading it.
Once I had the plans fairly set, I could easily estimate lumber and drywall by how many linear feet of wall I had. For instance, one stud every 16" plus a few on each wall for base plates, top plates, reinforcing, etc. One sheet of drywall every 4 feet (or 2 sheets every 8 feet, 2 sheets every 10 feet, etc) I estimated so well, I only had to go back to the lumber yard for ONE SHEET! I bought enough drywall to finish over a thousand square feet and was only off by one sheet. Yea, I got lucky. :-)
Here is a Visio drawing of my plans. There are four pages, one for the floor plan, one electrical, one HVAC and one to estimate square footage.
Visio Drawing
Here are JPGs of each page for those not Visio inclined:
Floorplan: Floorplan
Electrical: Electrical
HVAC: HVAC
Square Footage: Square Footage
Floorplan � Basic stuff. You can get a feel for size and placement of all my doors/windows, etc.
Electrical � You will notice what looks to be an obscene amount of lights. More on this later�
HVAC � Again, I wanted it to feel like upstairs, so I have two 4" x 12" registers in the ceiling of the theater with a 2-stud-wide cold air return by the floor, then one vent and one cold air return in each other room. I figured put the cold air return next to the floor to pull the cool air off the floor in the summer (to help with cooling) and keep the floor warmer in the winter. There is a ton of info in this realm on the AVSforum. One thing to consider is every vent you install in the theater the more noise you will get in the rest of the house. Some people use insulated flex-duct to cut down on this�just keep in mind it dramatically cuts down on airflow over straight metal duct.
The Beginning � DriCore
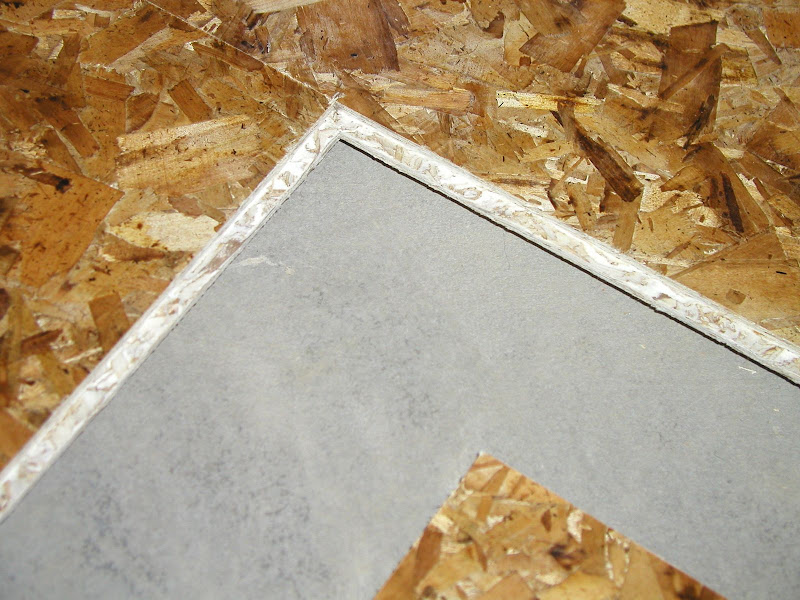
I struggled with this one. I read about DriCore on the AVSForum for some time. http://www.dricore.com/ and you can buy it at Home Depot. I had never heard of it or seen it, but after reading about it I decided I wanted to try it. The DriCore cost me about $1.60 a sq foot to install. It's basically 2'x 2' tiles that are tongue and groove with a heavy plastic layer on the bottom that has 1/4" feet. So the whole floor floats on these feet 1/4" off the concrete.
They went down pretty quickly; I think I finished the whole basement floor in about a day and a half. Only tools you need is a jigsaw and a circular saw (table saw was nice for cutting quick and straight). In the end, I am VERY glad I used DriCore. The floor feels wonderful. It has a lot of "give"to it, it feels almost like a standard sub-floor. Again, my main goal for the basement is I didn't want it to feel like a basement and this REALLY helped. I can walk around down there without shoes on and my feet stay just as warm as upstairs. Not only that, since all the walls are built on top of the DriCore, if you get a leak from the wall or floor, it just runs underneath to the floor drain!
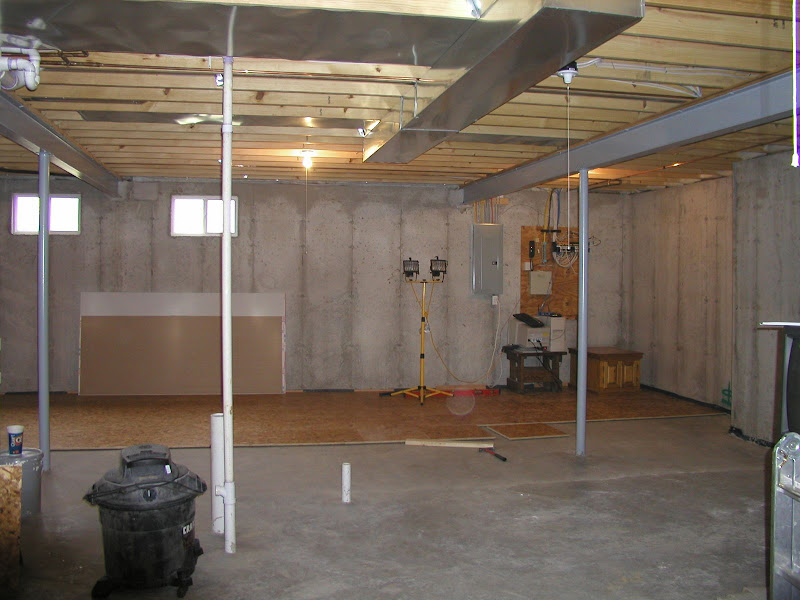
DriCore completed and lumber brought in:

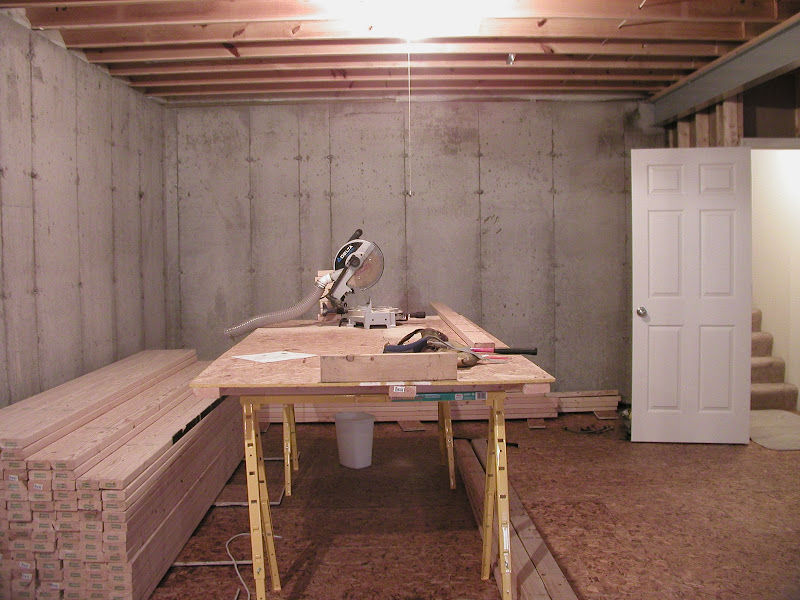
The topic of metal studs is pretty hot lately. I chose wood studs for many reasons. I am a woodworker, so I already have all the tools needed. Easier to cut and assemble (nail gun) easier to add bracing, easier to hang pictures etc, and I think that metal studs do not dampen noises NEAR as well. They vibrate, rattle, etc. Overall, I just didn't want to mess with metal.
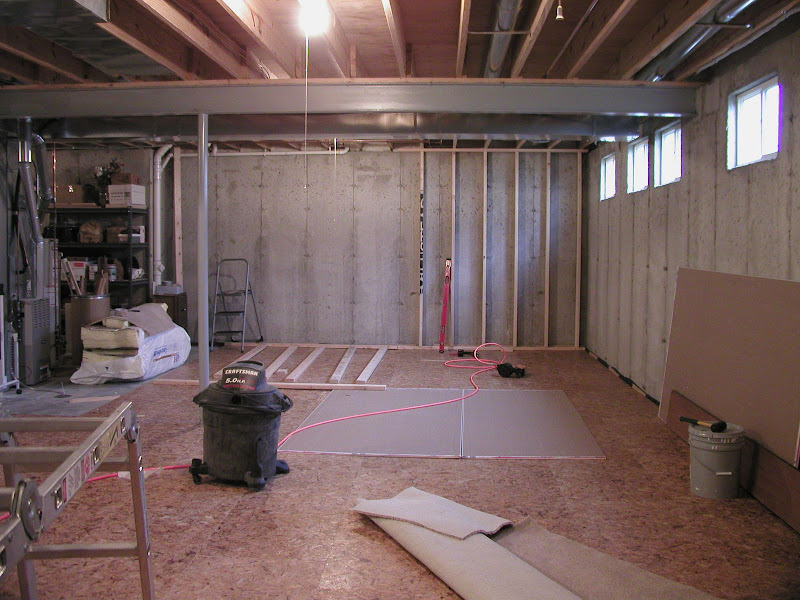
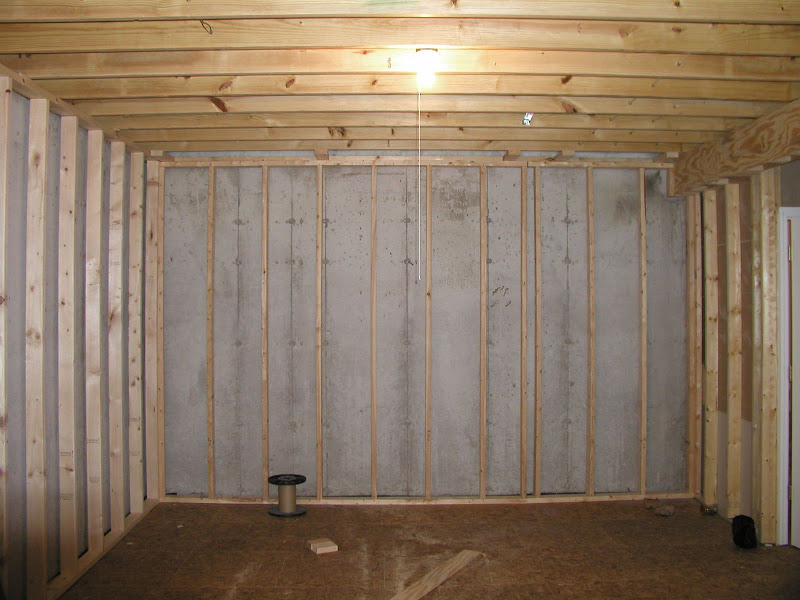
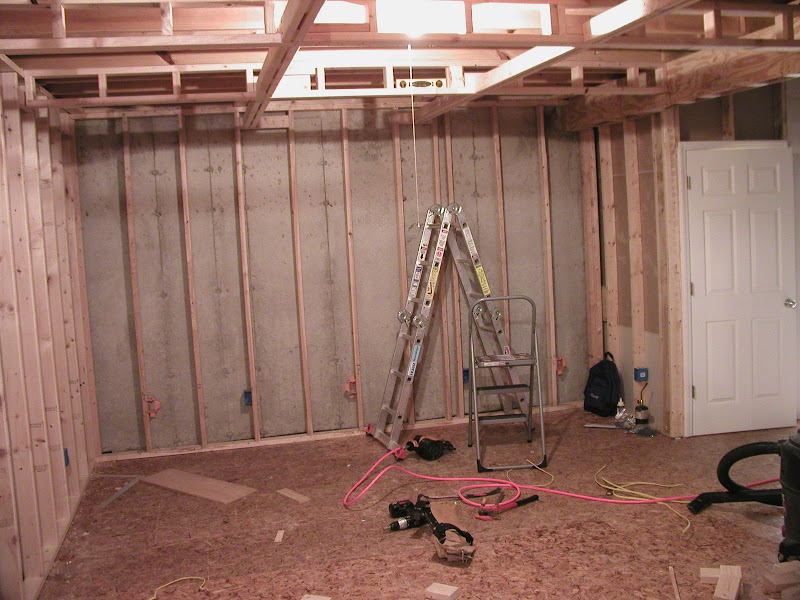
First wall put up!
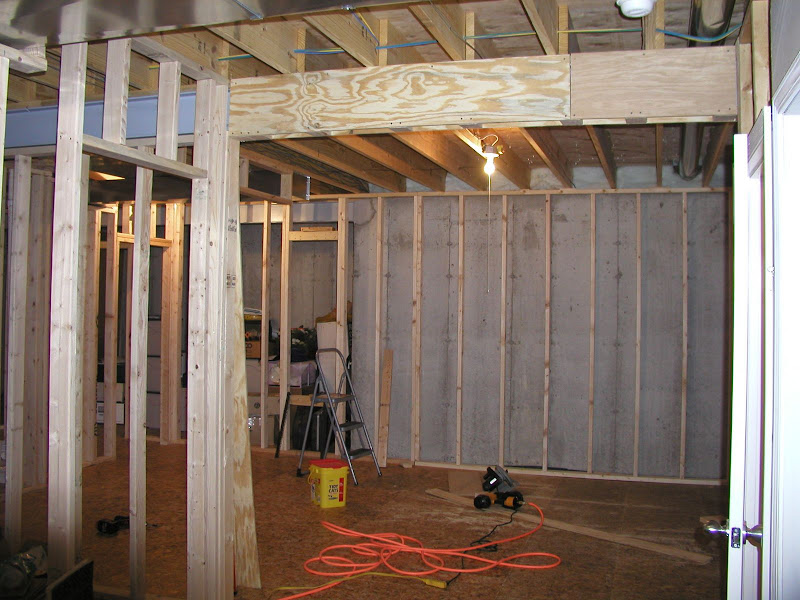
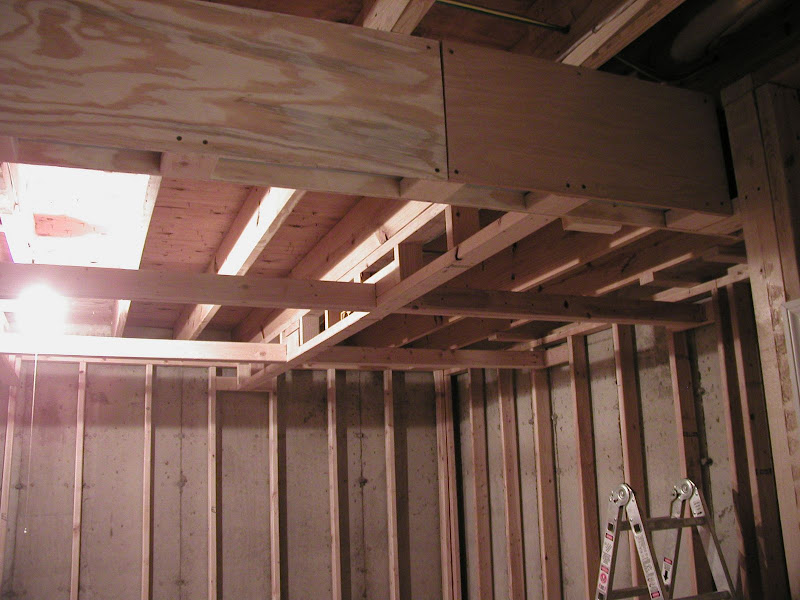
Here you can see how I wrapped my main I beam with plywood. This made hanging the drywall on it easier later on.
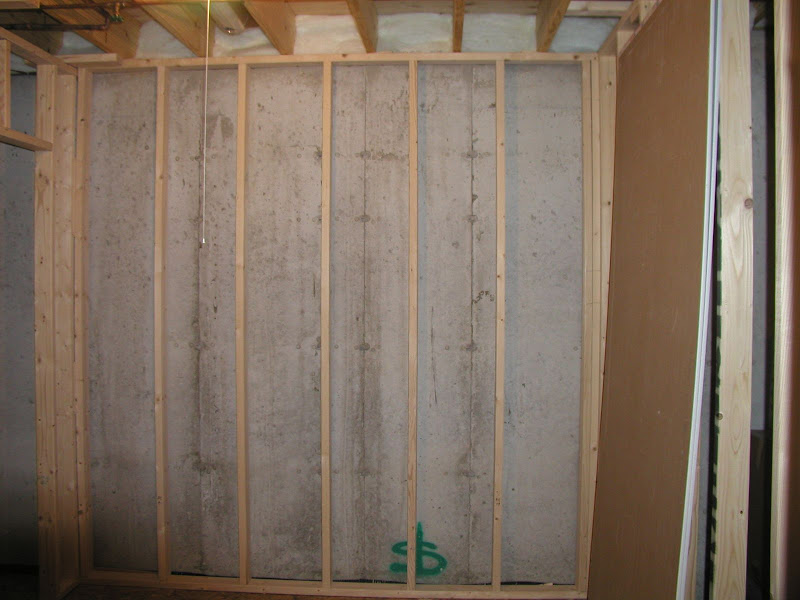
The screen wall up
Here's where the treasure is buried :-)
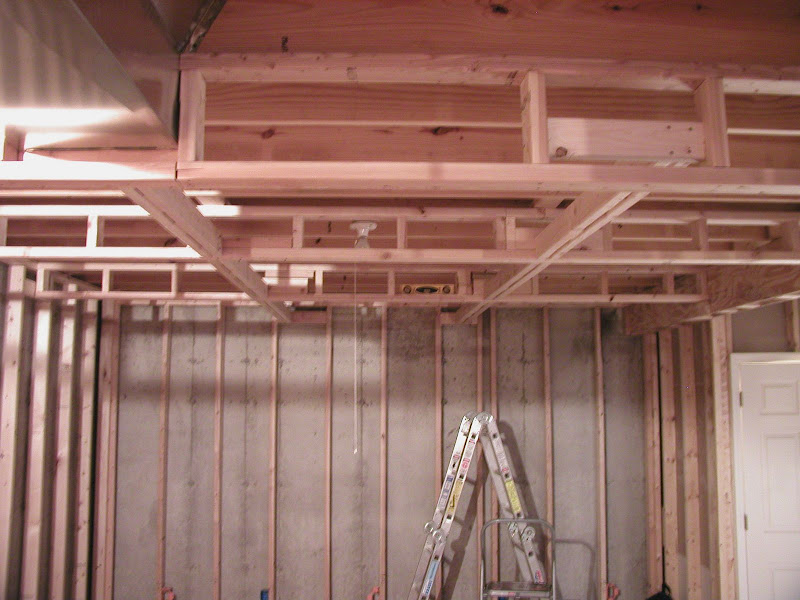
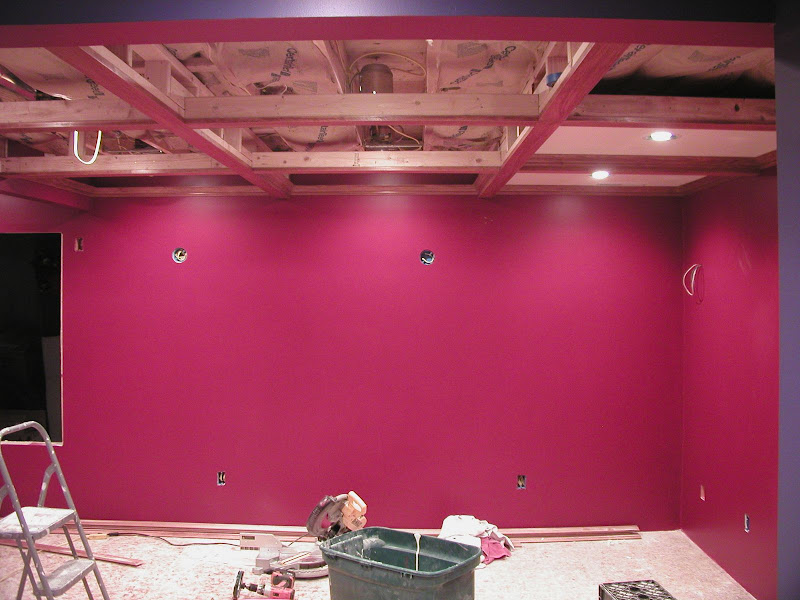
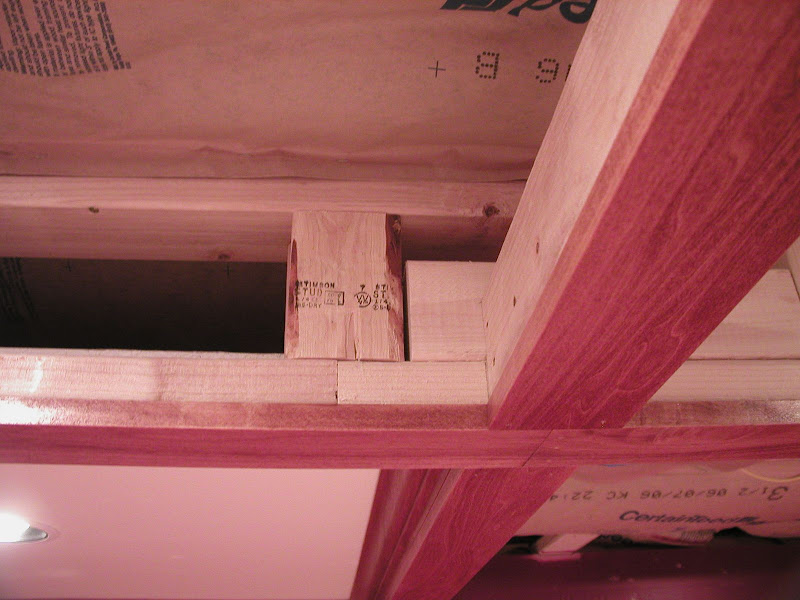
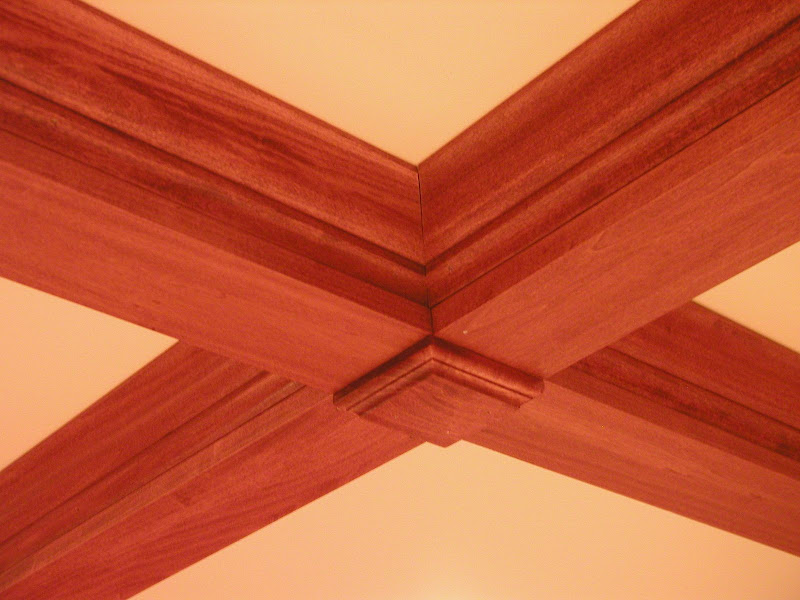
Ah, the home theater ceiling. This has to be the crown jewel of my basement. The next series of pictures help show how I framed up the ceiling. Basically, I wanted a classy ceiling but not lose the ability to access above the ceiling in case I needed to run additional wiring, plumbing, etc. In the end, I am VERY happy with the results. Each square is approximately 4 foot by 4 foot and you can lift the panel up and move it about 2-3 feet to the right or the left. I left a couple extra feet of wire attaching each can light. The process of this was basically build the drop-down short-wall part, drywall/tape/mud, paint, crown molding and then set 4' square painted drywall panels on top of the crown molding. One thing to note, if you are looking toward the screen wall the two supports that go front to back are not attached to the ceiling, this way I could slide the panels in over them from the right or the left. Since they are so large you can't simply tilt them and drop them on top of the crown molding like a drop ceiling. I would put up the crown molding on say the left square, insert the drywall square from the square to the right and slide it over the support to the left and drop it in. Then put up the crown molding on the center square and feed the drywall square from the right square over the support into the center and drop it in. Then lay the right hand drywall square on top of the center one, do the crown molding on the right square and then slide the drywall square back over the support and drop it into the right hole. Make sense? :-) Long story short, if I had to fully remove any square, I'd have to pull down the crown molding.
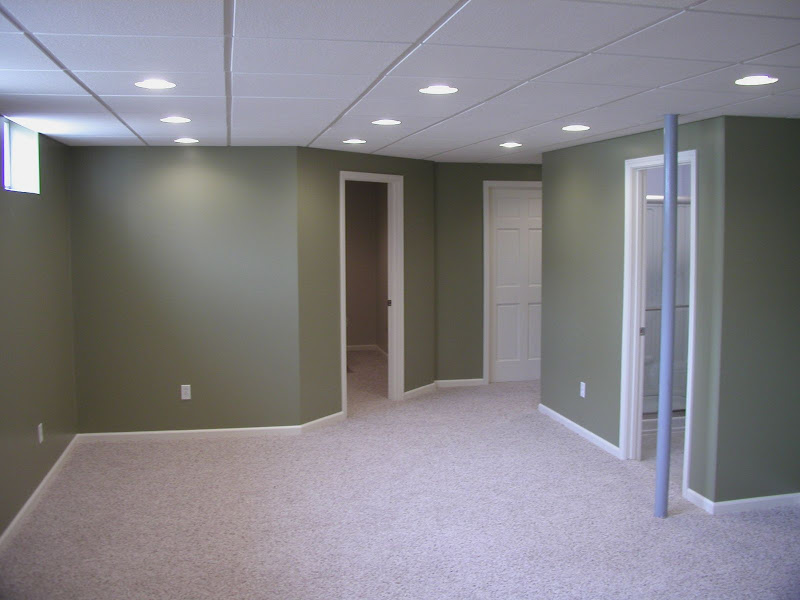
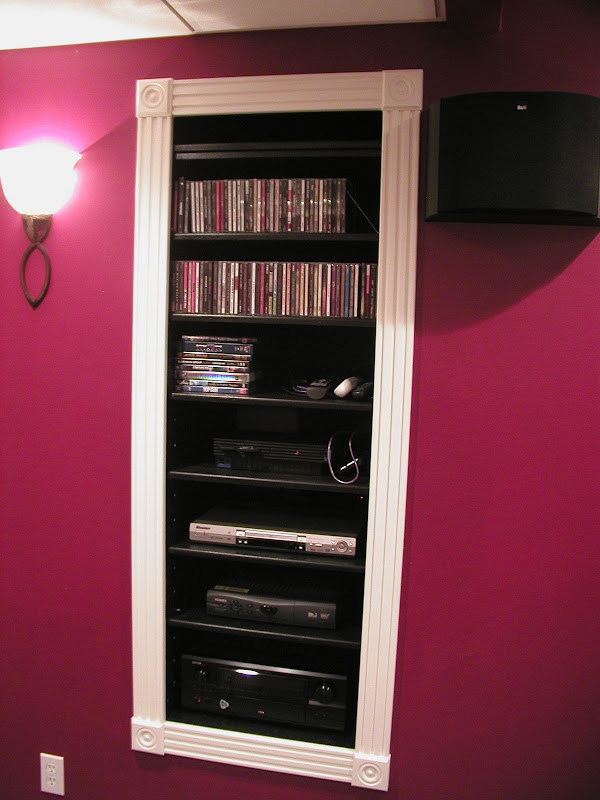
Here's the explanation for my great number of lights. I have 14 can lights and 5 sconces in my theater and 16 can lights in the pool table room. Each one with a 60Watt bulb. Two things here, can lights are more of a spot light than a standard bulb or fluorescent. They tend to "hot-spot" more. So I wanted them closer together. Secondly, I figured I could always put lower wattage bulbs in them. In the end, they are all filled with 60 watters and I think it's perfect. Since I have a large number of lights in the theater, I have one circuit ran just to power the lights, one to power the outlets and a dedicated power for the AV rack. Rec room is the same thing, one circuit for outlets, one circuit for lights. All other rooms just had a couple of outlets or a couple of lights so I just shared outlets with lights where necessary.
I ran all the electrical myself as I've had a fair amount of experience with it. I wouldn't recommend it for the average do-it-yourselfer. There is a lot to consider with codes and such. One thing that caught me off-guard is the inspector wanted GFCI outlets anywhere that I didn�t have flooring installed. Such as my utility room and workshop regardless if there is water. They wanted GFCI outlets because it was an "unfinished floor". Also make sure not to run electrical (or low voltage) through cold air returns and always have the runs straight with 90 degree bends. Staple at least 4-6" from each box and along the way every couple feet for support. Another stinker is the inspector wanted to see all the grounds attached before I could do drywall. Now think about this, can lights that sit in a drop ceiling grid...the drywall and paint goes up before the drop ceiling grid? Grrrrr�I wired all the can lights, left a fair amount of extra Romex and nailed them to the joists. He came out and did his inpection, I continued with construction and then dropped the lights down to the grid when it was time. It did work out nice however because I had plenty of light for mudding and painting.
Also, don't forget to run round boxes near the ceiling for smoke detectors!
Low Voltage - The life blood of the theater.I used the orange low-voltage boxes from Home Depot for all of my low-voltage. It is very similar to a standard electrical box only it doesn't have a back on it. It makes running low voltage wire into them a snap. Just make every attempt not to put 110 boxes right next to your low voltage boxes so you don't get EMI.
Don't forget to run a speaker wire for each speaker and coax for each sub from where your AV equipment will be. In my case, my rack is to the extreme left of the sitting position and the projector will be in the ceiling. So I ran an IR Repeater setup to receive the signals from a receiver on the front wall and blast them out to all my equipment via little stick on emitters. The receiver required three conductor wire, I used some wire I had left over from installing my security system (https://www.tselectronic.com/belden/5522ug.html) but any 3+ conductor wire will work.
Here you can see the low voltage and 110 boxes on the screen wall. The left hand low-voltage box is for the left front speaker as well as an RG-6 coax for a sub. The center one is for RG-6 and center channel speaker and the right box is for the right front speaker and another RG-6 for a subwoofer.
This pic shows my AV rack as well as the left surround
This pic if you look carefully you can see the rear and side surround low voltage boxes.
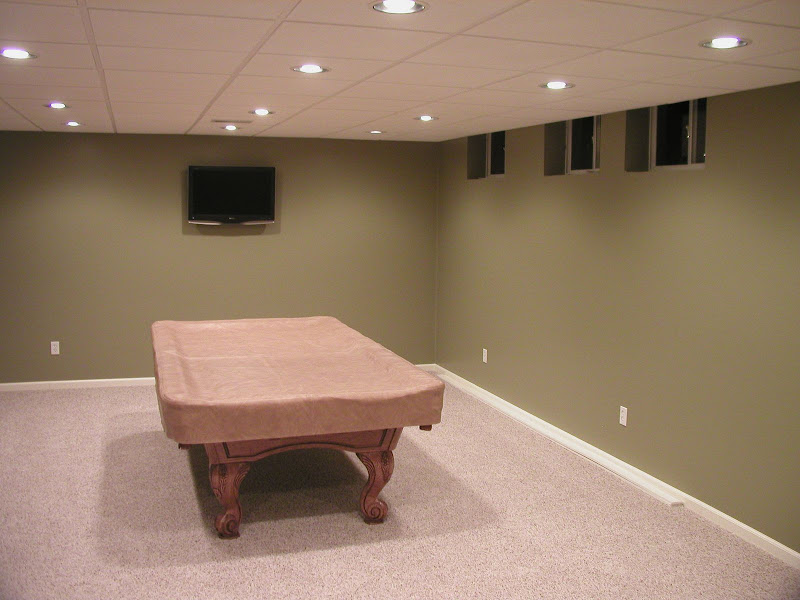
Here you can see the low voltage and power outlet on the far wall that now supports my LCD TV by the pool table
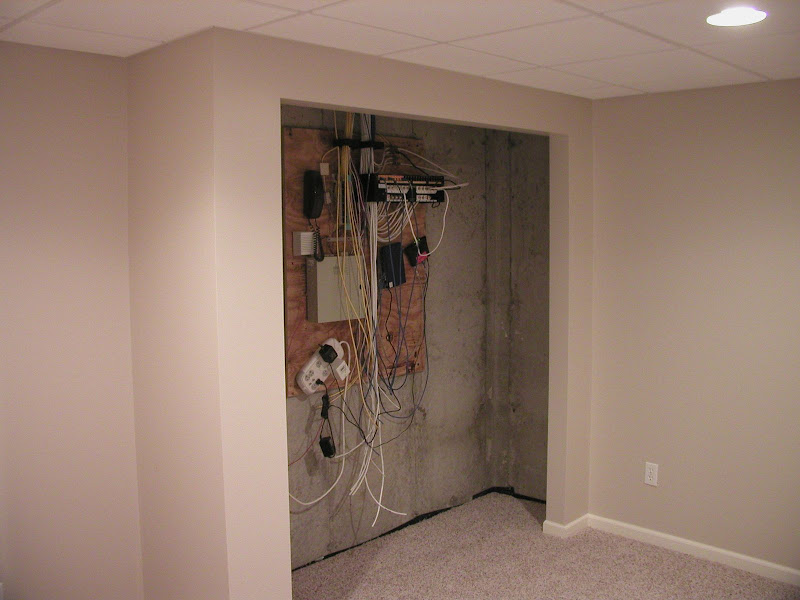
Here's my patch panel where all the cabling comes to in my house. The antenna, satellite, phone and every wall jack in the house terminates here. The tan box is my security system. It's a litte messy at this point because all of the basement wiring isn't terminated yet.
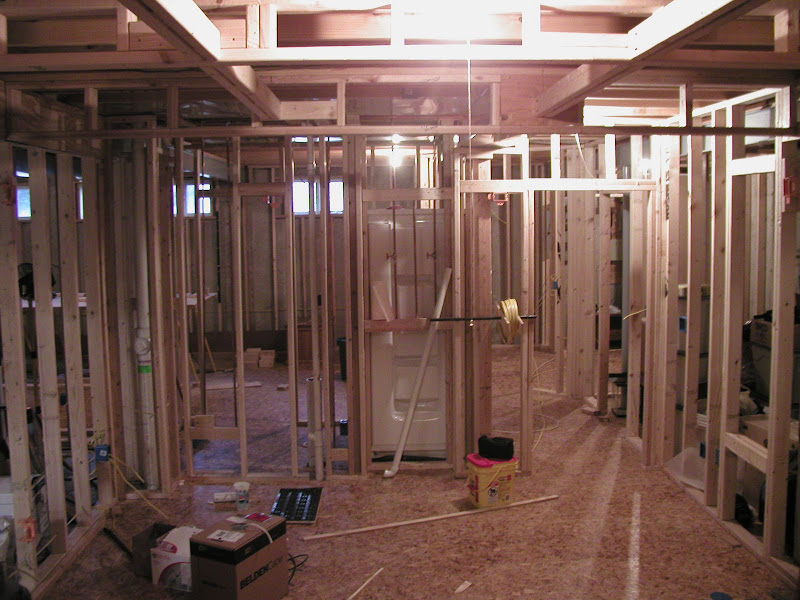
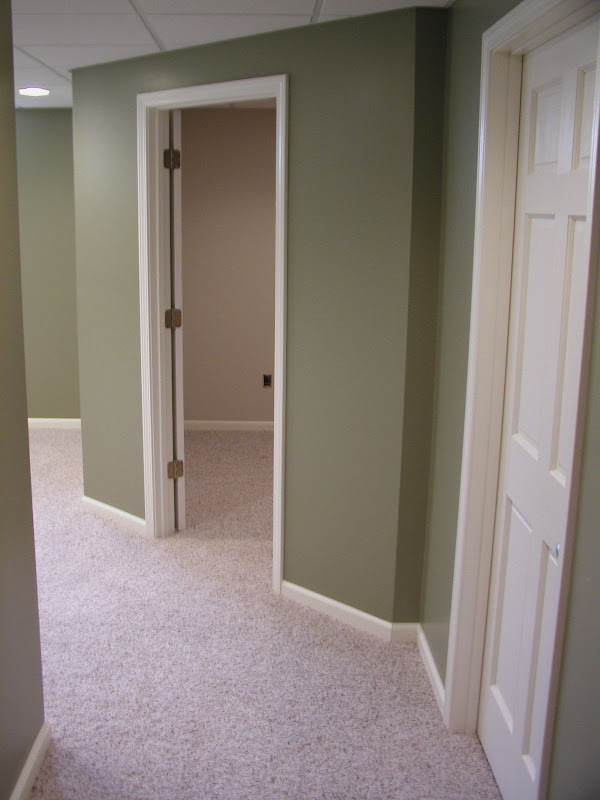
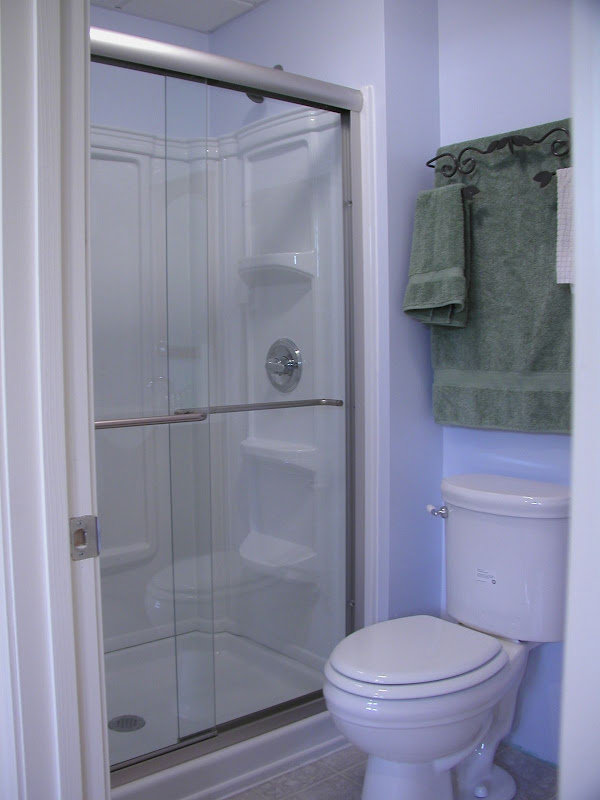
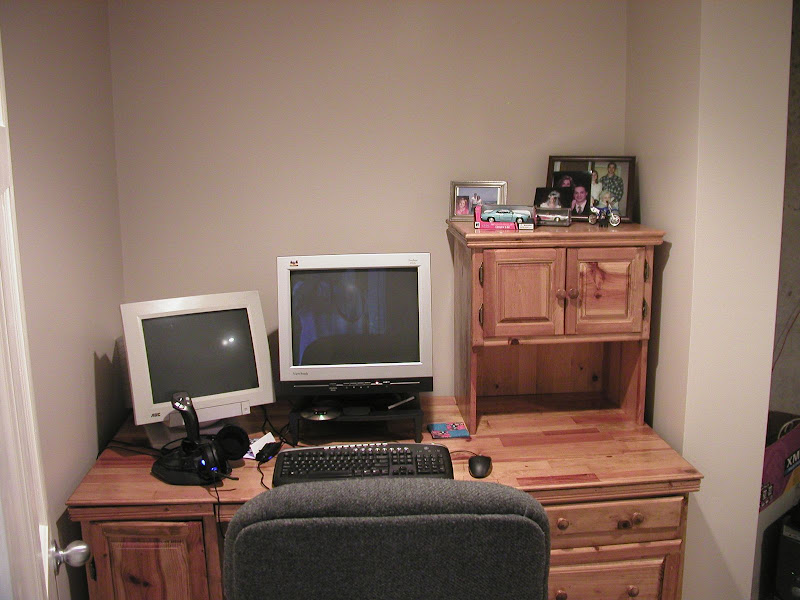
The back half of the basement is done here. The bathroom, rec room and office.
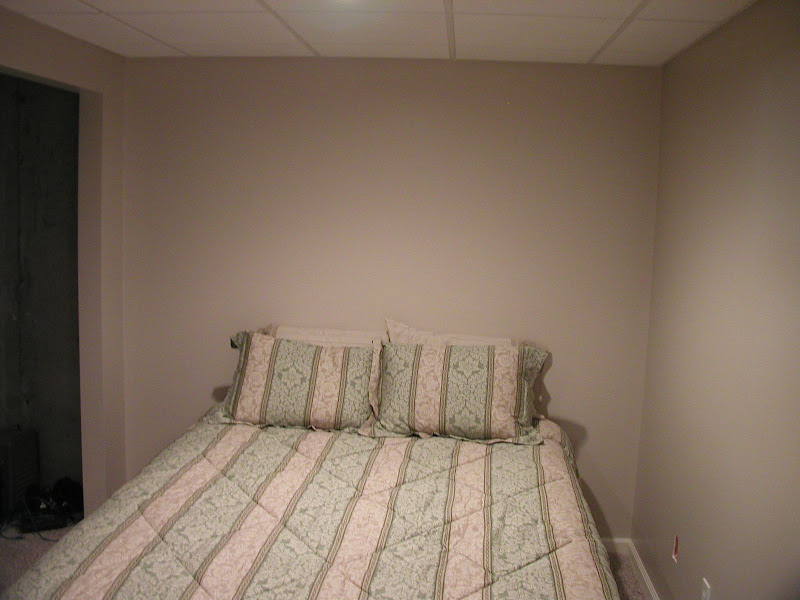
Be warned, some of the colors are off in the early pictures. I couldn't get the camera to take the colors properly, just stick with me until the later pictures. :-)
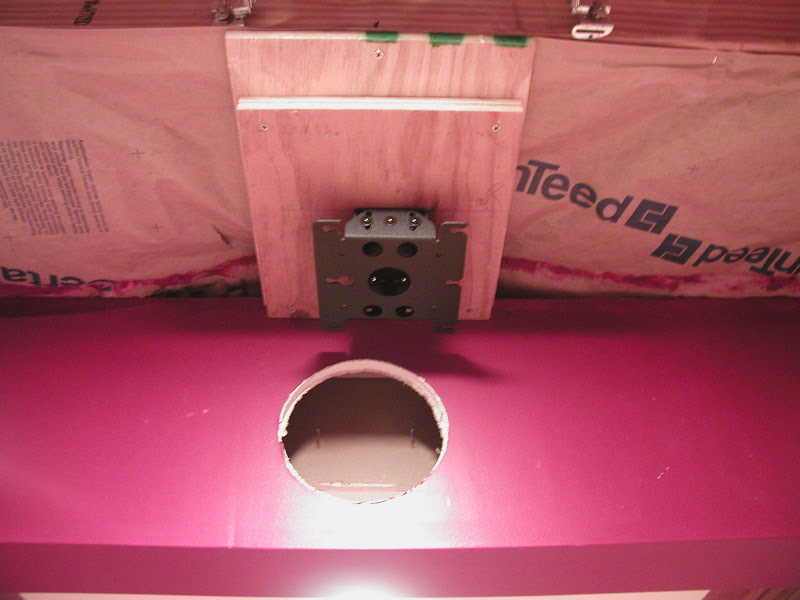
Here is how I mounted the projector in the ceiling. The projector and mount I got from www.projectorpeople.com
Stained wood up and first two panels installed. Notice the wire hanging out of the wall about six feet up? That's where my IR receiver will be later on.
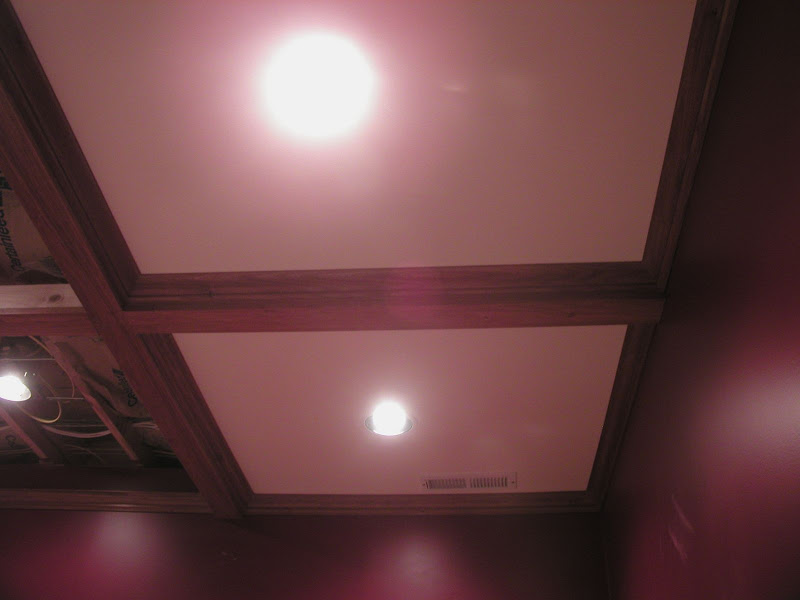

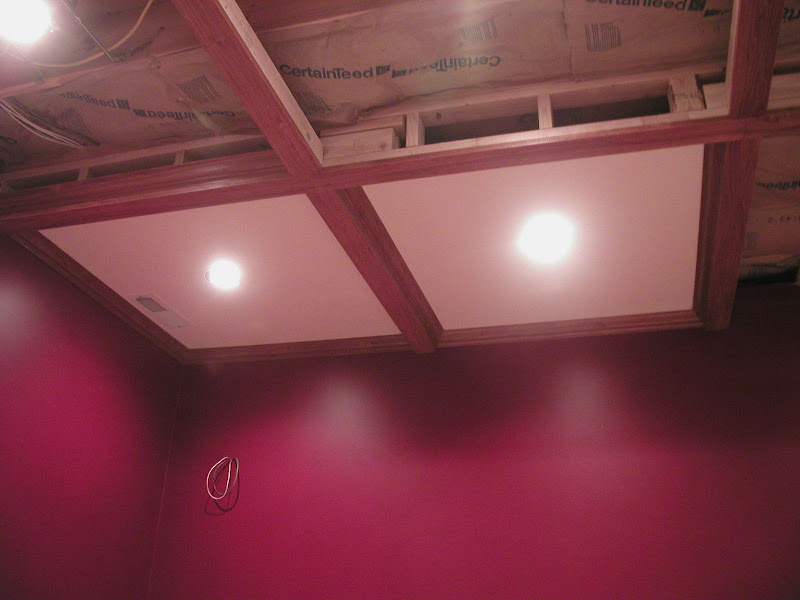
Decorative squares put up to cover seams
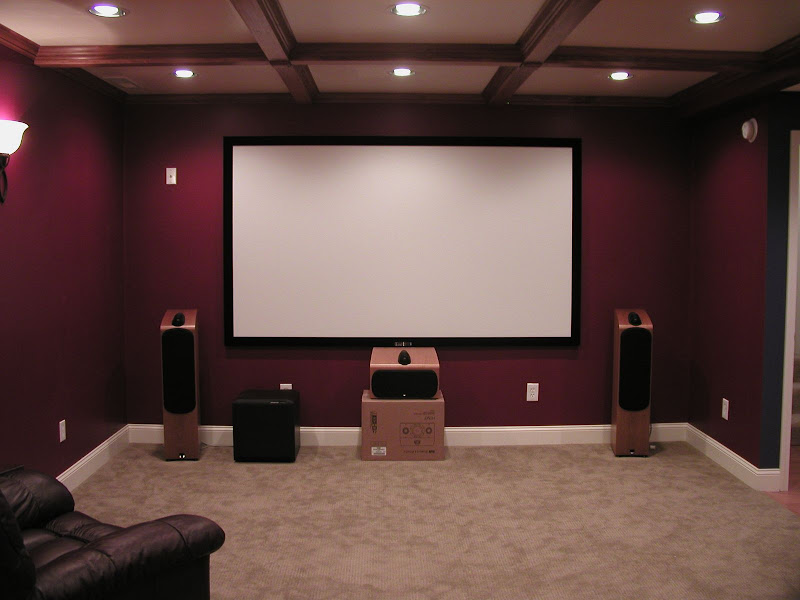
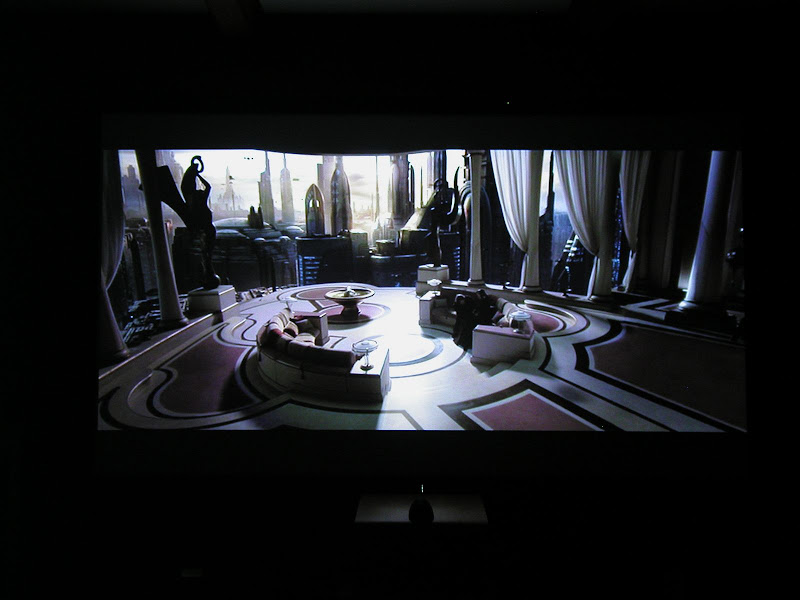
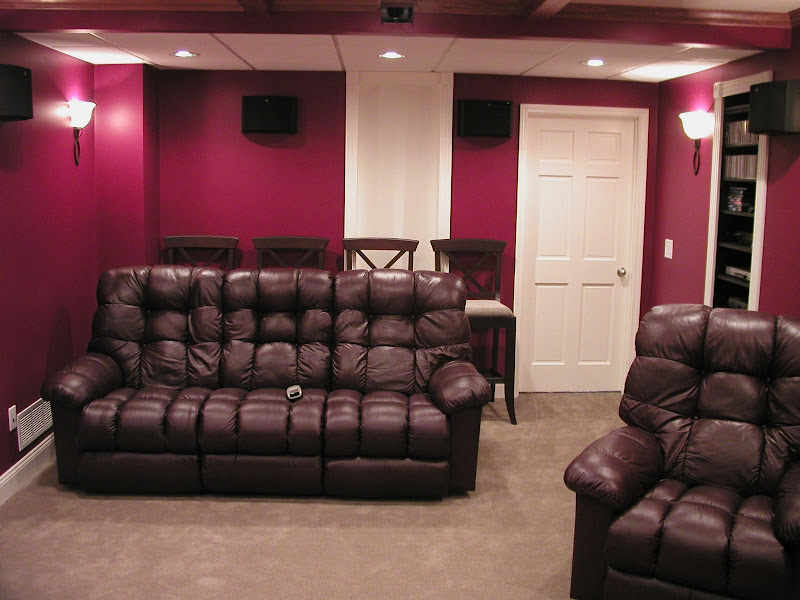
Finished results of the home theater. Notice in the first and second picture picture the rectangle hole in the ceiling. That is where the projector shines through.
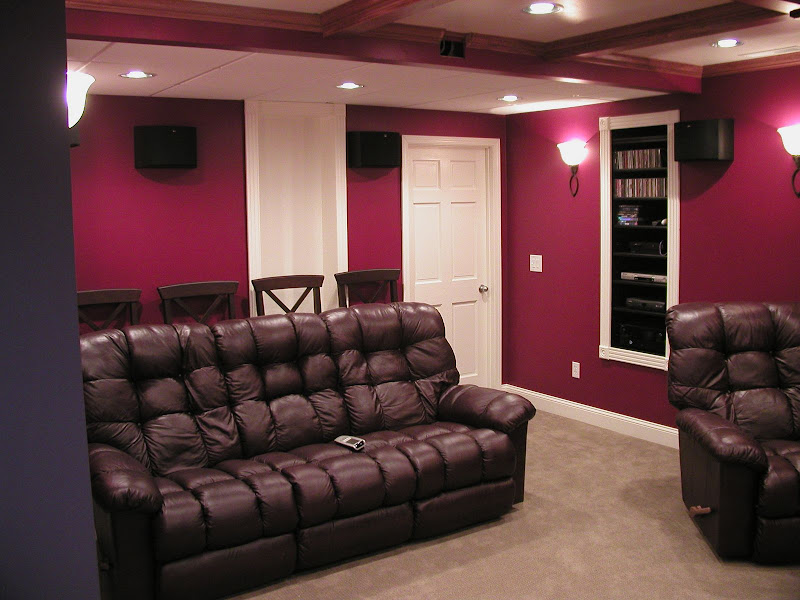
See Mr. Projector? :-)
Here you can see the IR receiver up on the left side of the screen. I considered painting the cover...I don't care for how much it sticks out. I also need a center channel stand.